Sailors live on their ships for months on end, too. Until last century, lightships (lighthouses built on boats) would float off the coast to warn of dangerous rocks. Lightship crews from Nantucket Island would weave baskets to pass the time.
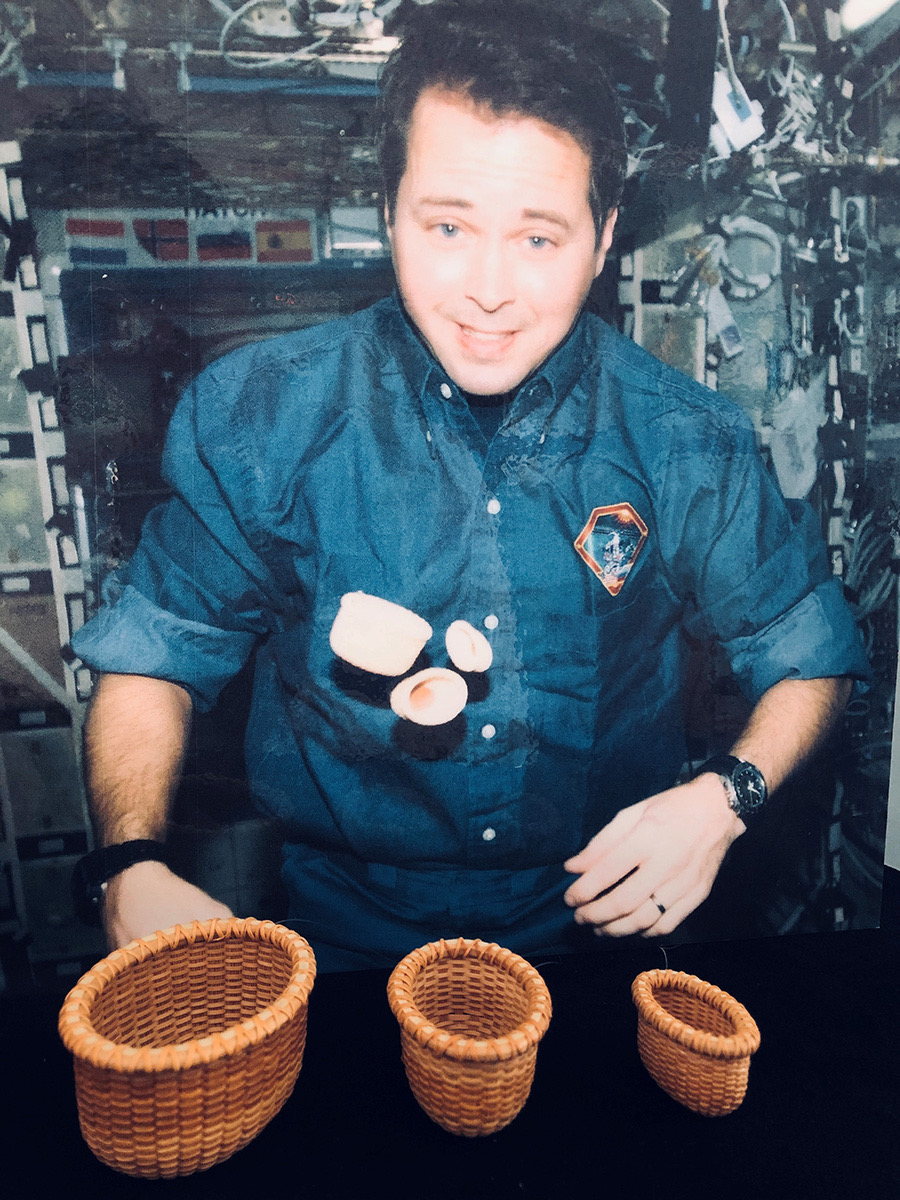
Astronaut Dan Bursch knew about Nantucket lightship basket weaving from visiting the island as a child. He flew with Australian Dr Andy Thomas on Space Shuttle Endeavour, and crafted lightship baskets during his 190-day stay aboard Space Station.
"I didn't think of weaving in space until NASA gave me a small box to pack hobbies in," says Dan.
Other astronauts painted or made quilts. One played a fold-up guitar.
"Sewing or basketweaving has a repetitive process, which can be soothing,” says Dan. “It feels like you're creating something out of nothing. Doing something other than your work is very important."
Here’s how to weave astronaut Dan’s lightship baskets using household materials. Try it and imagine you’re relaxing after a busy day in space!
Soaking in Space
The cane wick Dan uses needs to be wet to make it bendy for weaving. But in space, liquids float away and can make a huge mess! How did Dan solve the problem?
“Due to surface tension, water holds the shape of a bubble,” he says. “All I needed to do was keep a little bead of water at the end of a straw, and I could just pull the piece of cane through that.”
You will need
- Jam jar
- 1-litre cardboard carton (eg. soy or long life milk)
- Paper straws
- Thick cardboard
- Pen or pencil
- Rubber band
- Scissors
- Tape
What to do
- Trace the bottom of the jam jar onto cardboard and cut out the circle.
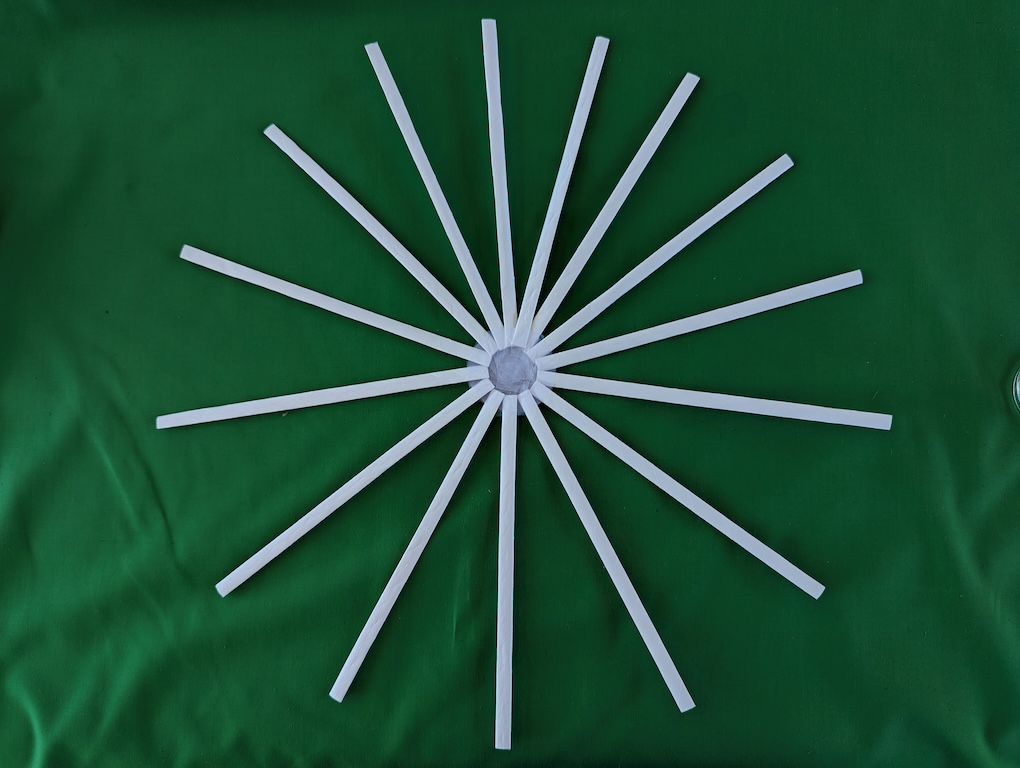
- Flatten the paper straws to make the staves (ribs) of the basket.
- Tape the staves, one by one, to the cardboard circle, so they point straight out. Use an odd number of staves – we used 15.
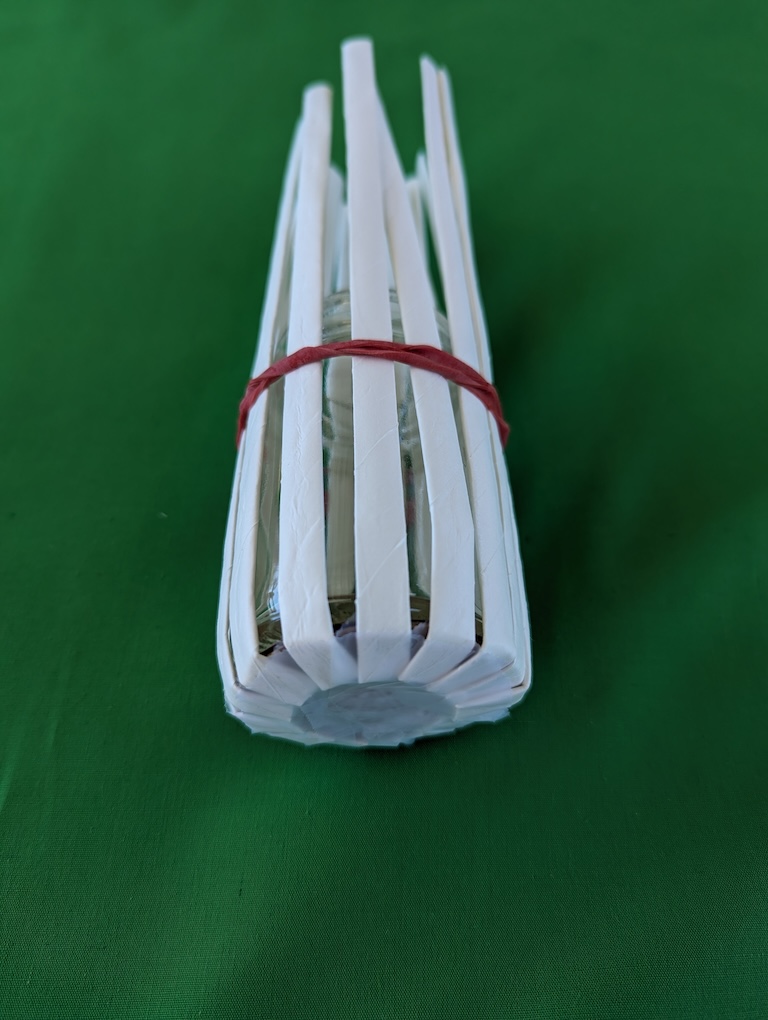
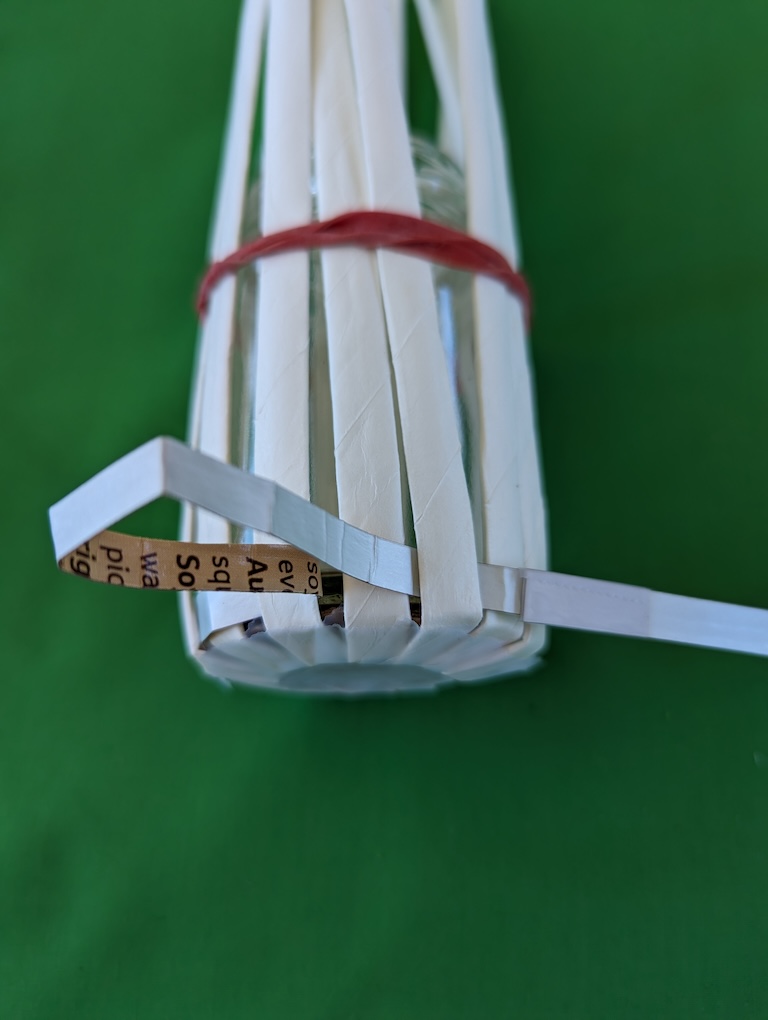
- Place the cardboard circle on top of the jam jar. Pull the straws down tightly over the surface of the jar and hold them in place with a rubber band. This is how the basket takes the shape of the mould.
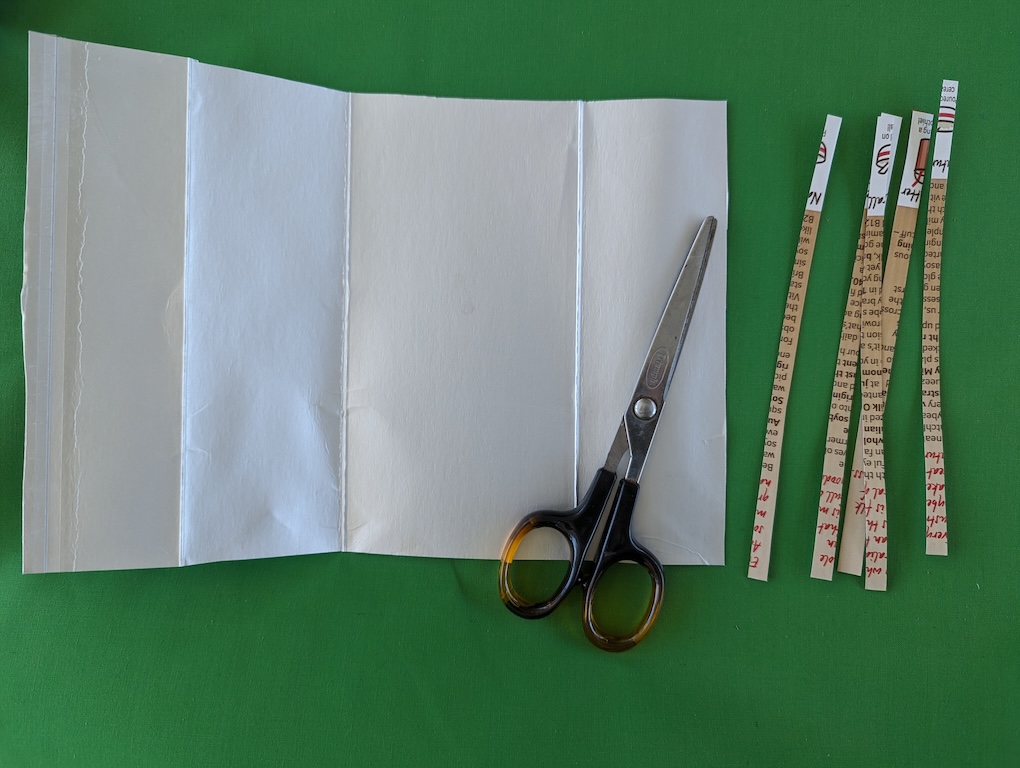
- Cut the top and bottom off the carton, and then cut the carton lengthwise and unfold it.
- Cut the carton into long, straight strips (about 1 centimetre wide). Join these strips end to end with tape to make one very long strip, called a wick, for weaving. If you run out of wick, just add more!
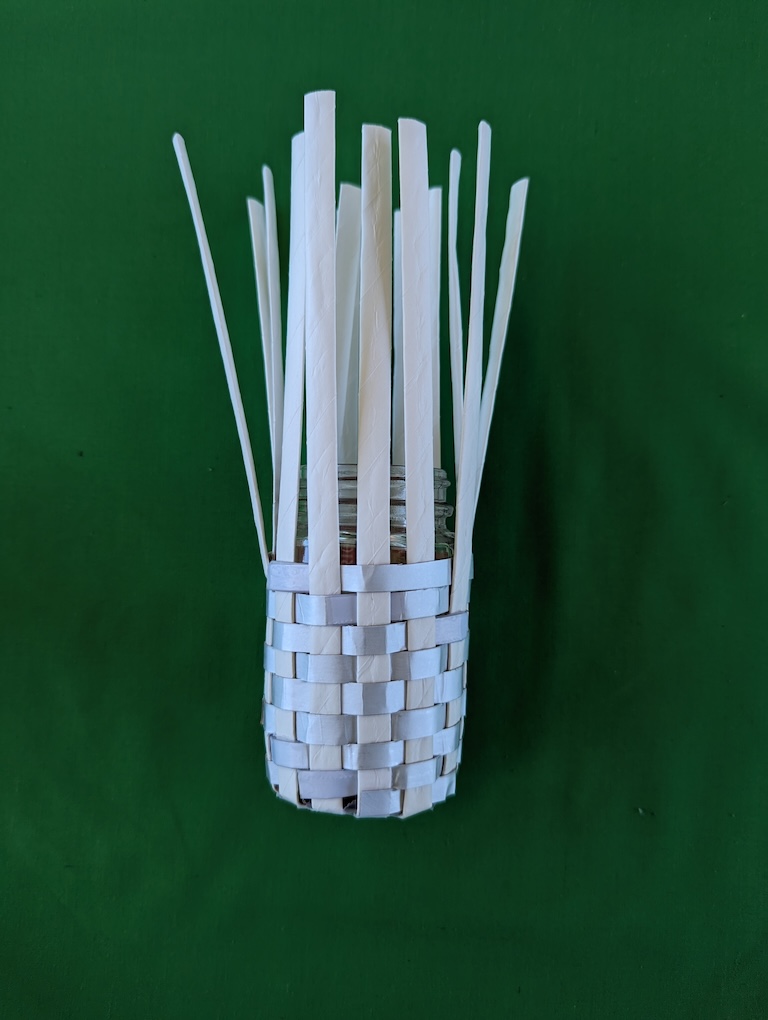
- Tape one end of the wick to the base of one of the staves. Then weave the wick over one stave and under the next as you go around. Make sure to pull the wick firmly as you go!
- When you get back to where you started, keep going! Start a new layer just above the last. Remember to push each new row down tight and close to the previous row.
- Don’t go all the way to the top! Leave at least 5 centimetres of bare staves poking out above the final row.
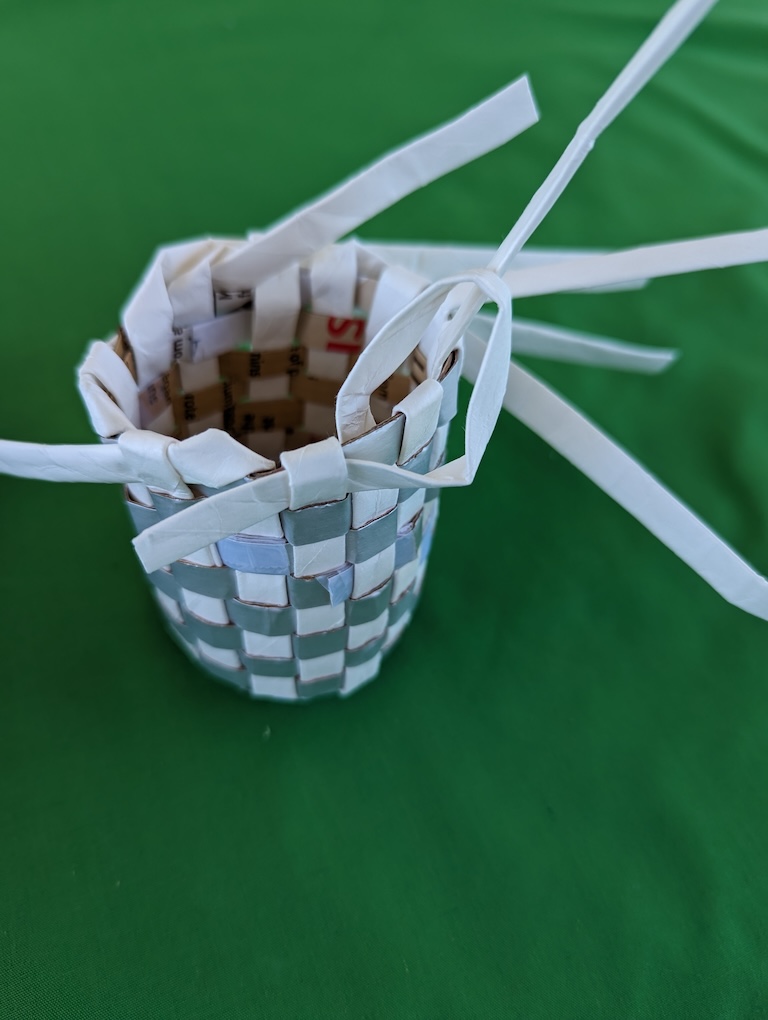
- Remove the rubber band and pull the basket off the mould.
- Fold the outside staves over the lip of the basket and tuck them into the third row of wick from the top. Fold the inside staves over the lip and tuck them under a neighbouring stave.
Why is an even number of staves a bad idea? Can you modify the weave to work with an even number of staves? Try it and find out!
